
Converting a camper into a chicken coop
The chicken camper coop project started back in April by moving my beat-up 1982 Scottie about 50 feet navigating by three large tree stumps into the corner back part of my fence. It was a nerve-wracking tight squeeze to get my car back out but I managed this time to not put another dent in it. The camper suffered minor injuries.
My prior coop that I constructed earlier was a failure and predators picked off my flock of four over the winter. My travel camper which was my pandemic project is mostly unused. I read several articles about repurposing a camper into a chicken coop and the conclusion was that a camper can be a safe, secure, and comfortable home for hens. The camper measuring 15’ x 7’ could easily house half a dozen or more hens, but I am starting out small and see how it goes.

I cleaned out the camper leaving the sink, as it may be useful, and a closet that I couldn’t get out without taking it apart and decided it could also be useful. I store chicken stuff in it right now, but the bottom two shelves could be turned into nesting boxes. The camper was fairly clean as I did stay in it when I had guests, but I washed the walls and windows. I brought the small coop I had used before to use as a smaller enclosure if needed and for the nesting box. The fun part was constructing the roost. I will need to replace the branches in time but I think it’s more natural for the chickens.


One of the coolest features of the camper coop is the windows that crank out sideways, keeping out the rain. All the windows are functional except one small window that got pierced by a tree branch. I will just cover it in the winter. Because predators can rip through screen easily, I installed hardware cloth over the windows. I need to add a bolt to the lower part of the door. It is damaged and doesn’t close properly. I am concerned an animal can pry it open. The camper floor is linoleum, which is easy to clean, and I like using pine shavings for bedding. I cleaned my existing feeder and water dispensers, brought in a bag of feed, and refilled the grit containers. Then I waited for some hens to come camp.
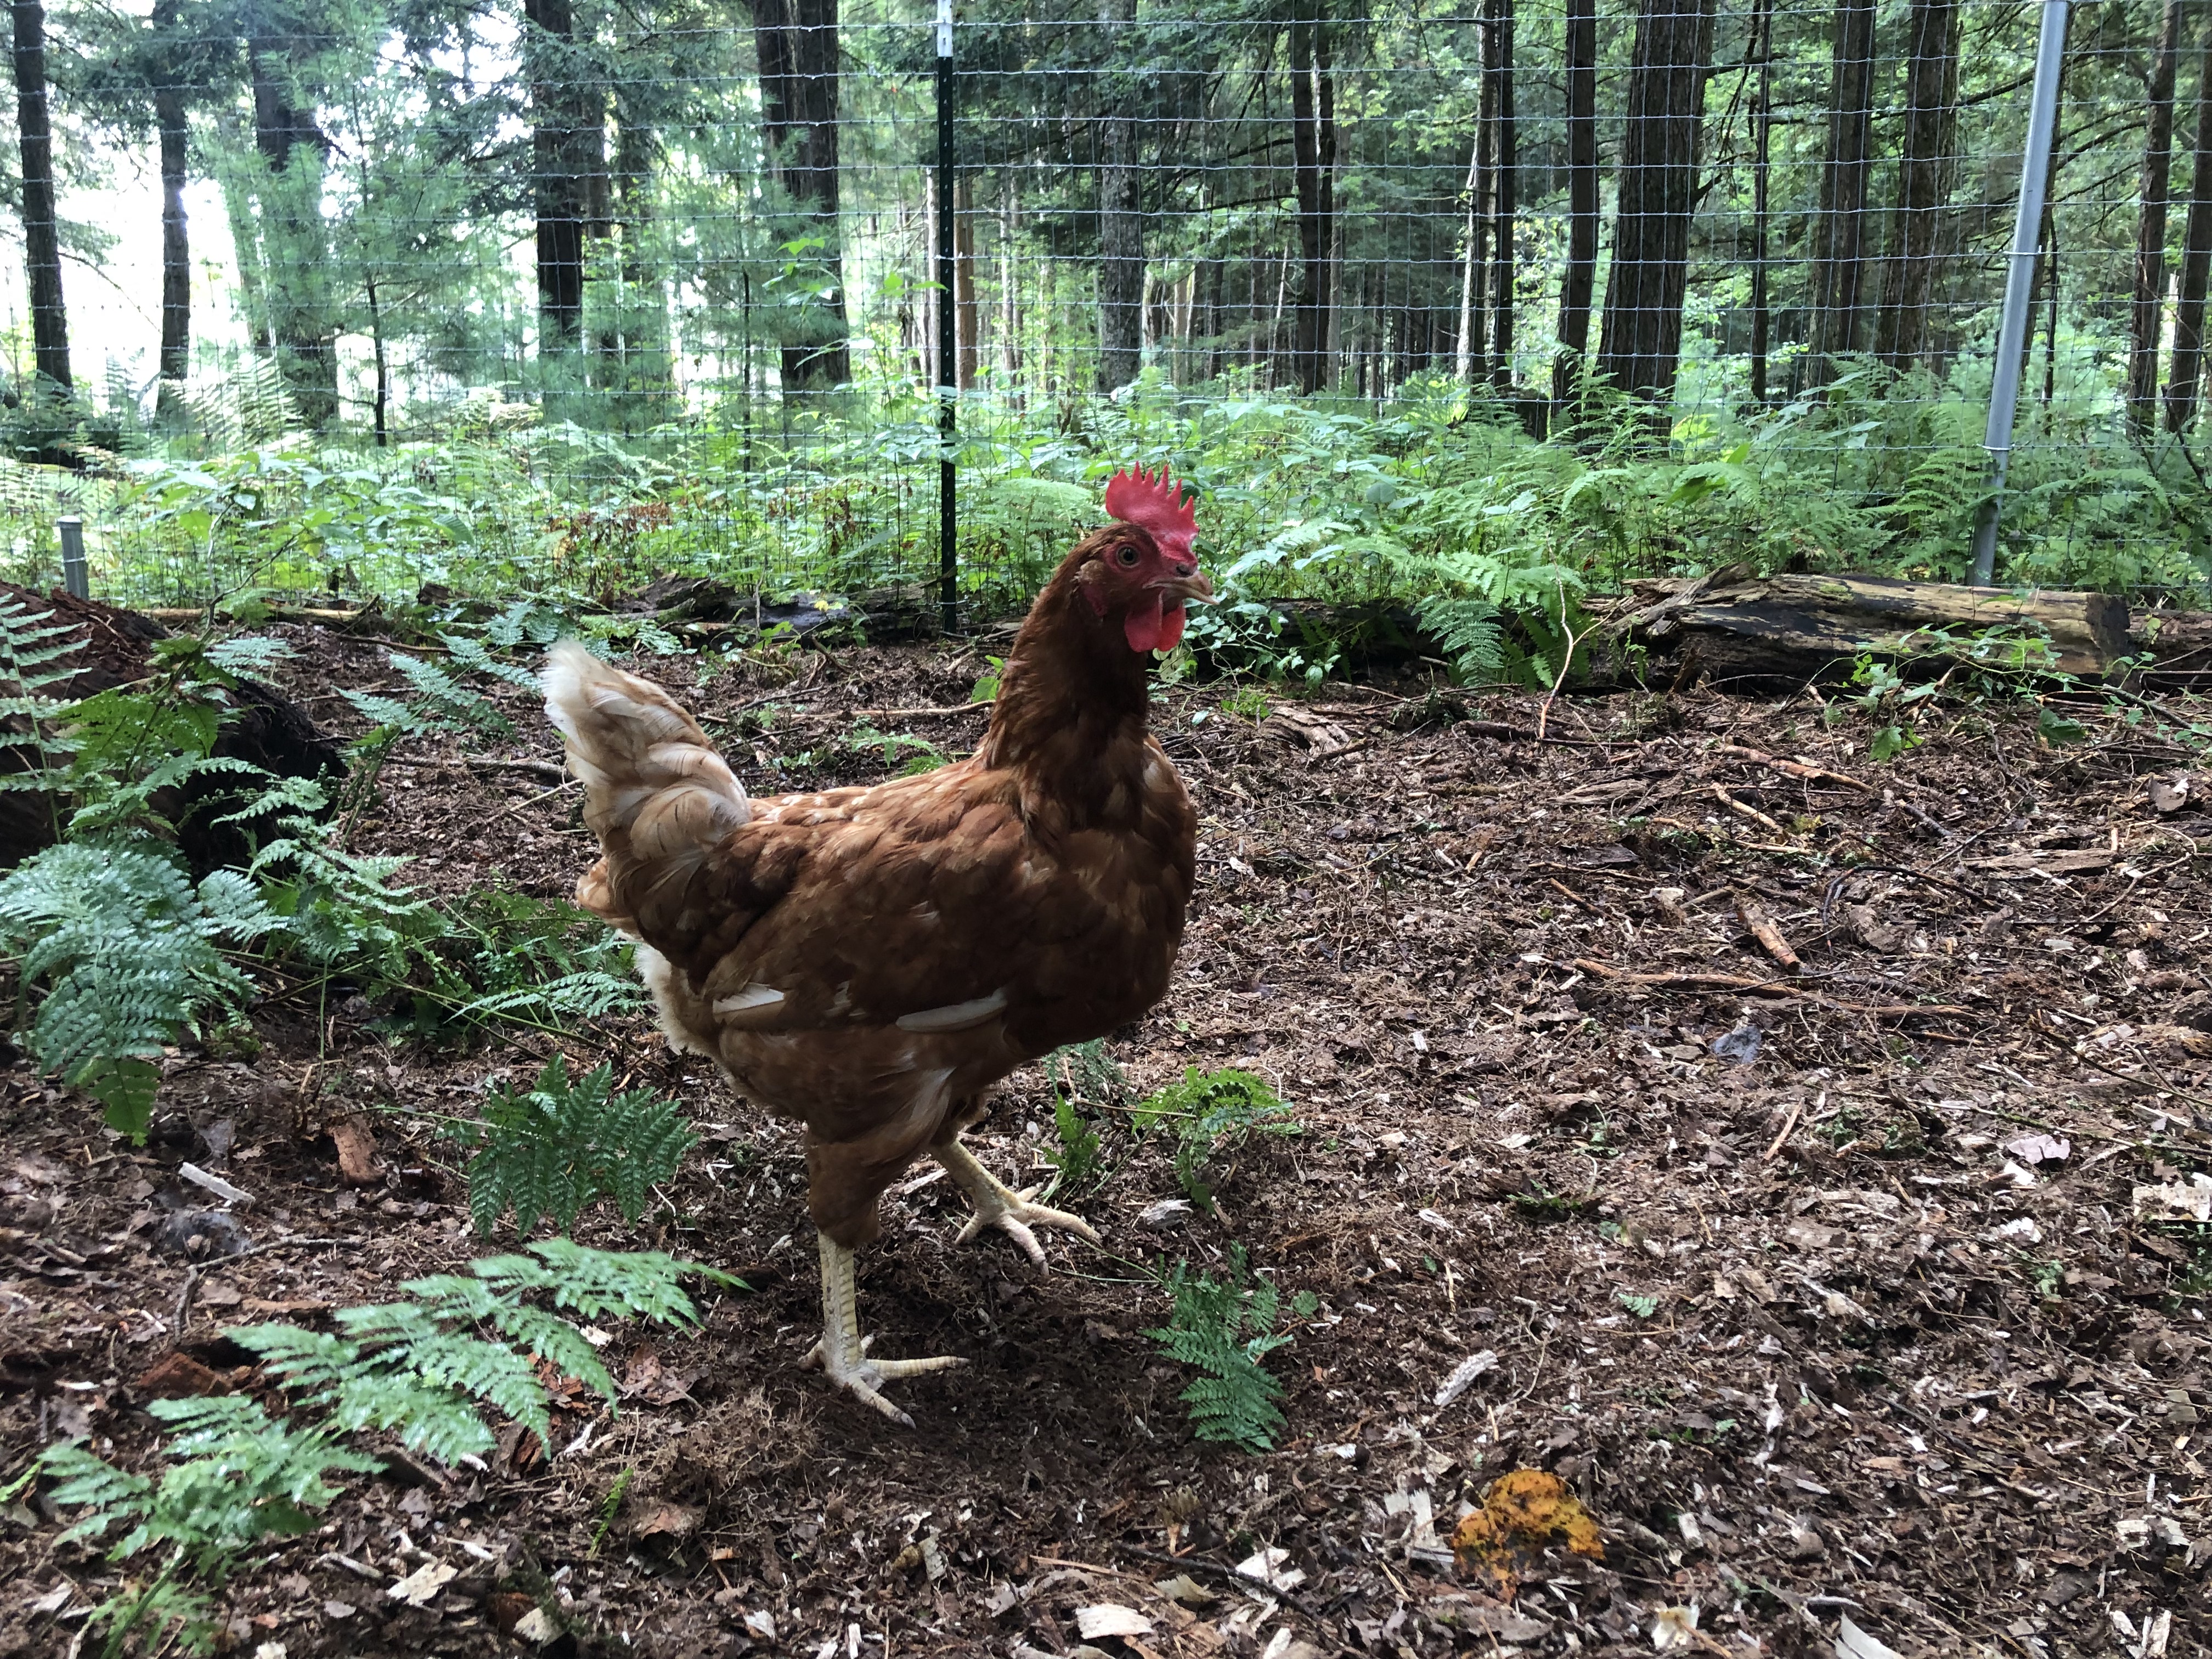
Finally in August, a friend texted she had three hens at her farm she would sell me. They are all Rhode Island Reds almost a year old so already laying. I kept them inside the camper for a week before allowing them into their fenced run. They were excited to go outside but I do think they like the camper. They started using the roost the second night. I can see them through the camper window. We are great friends now and they are very chatty when they see me. Along with three big brown eggs every day, my lady campers have been a welcomed addition to my emerging homestead.
Keep on reading for tips on repurposing a camper, keeping chickens, issues, egg storage, and avian influenza. I hope you find the information helpful. Thanks for reading!

Got a camper you might want to repurpose? Here’s a step-by-step guide
1. Cleaning and Preparation: Start by thoroughly cleaning the interior of the camper to remove any debris, odors, or potential contaminants. Remove any furniture or fixtures that are not needed for the chicken coop setup.
2. Structural Modifications: Depending on the layout of the camper, you may need to make structural modifications to accommodate the needs of the chickens. This could include adding windows for ventilation, installing roosts, nesting boxes, and a ramp for easy access.
3. Flooring: Consider replacing or covering the existing flooring with materials that are easy to clean and maintain, such as linoleum or vinyl flooring. Ensure the flooring is waterproof and provides adequate insulation.
4. Ventilation: Proper ventilation is essential for a chicken coop to prevent moisture buildup and maintain air quality. Install vents or windows that can be opened and closed as needed to regulate airflow.
5. Nesting Boxes: Create nesting boxes where the chickens can lay eggs comfortably. These can be built into the existing structure of the camper or added as separate units inside.
6. Roosting Bars: Install roosting bars at various heights to accommodate the chickens’ natural roosting behavior. Use sturdy materials that can support the weight of the birds.
7. Access Doors: Ensure there are easy access doors for cleaning, feeding, and collecting eggs. Consider adding a larger door or hatch for periodic deep cleaning of the coop.
8. Outdoor Run: If possible, attach an outdoor run or enclosure to the camper to provide additional space for the chickens to roam and forage safely.
9. Security: Take measures to secure the coop against predators, including reinforcing doors and windows, adding locks or latches, and installing wire mesh around the perimeter.
10. Finishing Touches: Once the structural modifications are complete, add bedding material, feeders, waterers, and any other accessories needed to create a comfortable and functional living space for the chickens.
Tips on how to care for chickens:
1. Coop: Provide a secure coop with enough space for each chicken to roost comfortably and lay eggs. Chickens prefer to roost higher up so plan accordingly.
2. Food and Water: Ensure they have access to fresh water and a balanced diet of chicken feed, supplemented with kitchen scraps and occasional treats like mealworms or vegetables. My girls love tomatoes, cantaloupe, and peppers!
3. Space: Allow them space to roam and forage during the day. A fenced yard or chicken run works well to keep them safe from predators. My fence is 5 ft. and hens have been known to fly over it, heads up.
4. Nesting Boxes: Have nesting boxes where they can lay eggs comfortably. Hens often use the same box
5. Cleanliness: Regularly clean the coop to prevent the buildup of waste and minimize the risk of disease. I usually clean out and replace the shavings every two weeks.
6. Health: Keep an eye on their health, and promptly address any signs of illness or injury.
7. Protection: Protect them from predators by securing the coop and yard with sturdy fencing and locking them up at night.
8. Socialization: Chickens are social animals, so consider having at least three or four to keep each other company.
9. Routine: Establish a routine for feeding, cleaning, and collecting eggs to help keep your chickens healthy and happy.
10. Legalities: Check local regulations and ordinances regarding keeping chickens, including rules about noise, coop placement, and the number of birds allowed.
By repurposing a camper into a chicken coop, you can create a unique and mobile housing solution for your flock while making use of existing resources in an eco-friendly manner.
Common issues that chicken owners may encounter include:
1. Predators: Predators such as foxes, raccoons, dogs, and birds of prey can pose a threat to chickens. Secure the coop and run with sturdy fencing and locks to prevent access.
2. Illness: Chickens can be susceptible to various diseases, including respiratory infections, parasites, and fungal infections. Regularly monitor your flock for signs of illness and consult a veterinarian if needed.
3. Egg Production: Factors such as age, breed, diet, lighting, and stress can affect egg production. Providing a balanced diet, adequate lighting, and a comfortable environment can help maintain consistent egg production.
4. Feather Pecking: Chickens may engage in feather pecking, which can be due to boredom, overcrowding, nutritional deficiencies, or hierarchy disputes. Provide enrichment activities, adequate space, and a balanced diet to help prevent this behavior.
5. Broodiness: Some hens may become broody, meaning they want to sit on eggs to hatch them. While natural, prolonged broodiness can affect egg production. You can try to break broodiness by removing the hen from the nesting area or providing dummy eggs.
6. Molting: Molting is the natural process of shedding old feathers and regrowing new ones. During molting, chickens may temporarily stop laying eggs and appear scruffy. Ensure they have a nutritious diet rich in protein to support feather regrowth.
7. Temperature Regulation: Chickens are sensitive to temperature extremes. Provide shade and ventilation in hot weather and insulate the coop in cold weather to help maintain a comfortable environment.
8. Flock Dynamics: Chickens have a social hierarchy, which can lead to aggression, bullying, or pecking order disputes within the flock. Intervene if necessary to prevent injuries and ensure all chickens have access to food and water.
9. Egg Eating: Occasionally, chickens may develop a habit of eating their own eggs. Provide sufficient nesting boxes with comfortable bedding to reduce the risk of egg breakage, and promptly collect eggs to discourage this behavior.
10. Nutritional Imbalances: Ensure chickens receive a balanced diet to prevent nutritional deficiencies or excesses, which can lead to health problems such as poor egg quality, weak shells, or skeletal disorders.
Storing fresh eggs properly is essential to maintain their quality and safety. Here’s the best way to do it:
1. Refrigeration: Store fresh eggs in the refrigerator as soon as possible after collecting them. Keeping eggs refrigerated helps slow down the growth of bacteria and maintains their freshness. I actually leave my eggs out in a basket for a week or two as they do stay fresh that way if left unwashed.
2. Cleanliness: Avoid washing eggs until you’re ready to use them, as washing can remove the protective coating (bloom) that helps seal the eggshell and prevent bacteria from entering. If an egg is dirty, gently dry-clean it with a dry cloth or fine sandpaper.
3. Storage Location: Place the eggs in the main body of the refrigerator, rather than the door, where temperatures can fluctuate more. Store them in their original carton to protect them from absorbing strong odors and flavors from other foods.
4. Position: Store eggs with the pointed end down to help keep the yolk centered and maintain its freshness.
5. Use-by Date: Label the carton with the date of collection or expiration to help keep track of freshness. Generally, fresh eggs can be stored in the refrigerator for up to 3-4 weeks.
6. Quality Test: To check the freshness of an egg, you can perform a simple float test. Place the egg in a bowl of water—fresh eggs will sink and lie flat on the bottom, while older eggs will stand on one end or float due to the air pocket inside the shell.
By following these guidelines, you can ensure that your fresh eggs stay safe and delicious for longer periods.
Keeping chickens happy is essential for their well-being and productivity. Here are some ways to ensure their happiness:
1. Adequate Space: Provide enough space in the coop and run for chickens to move around freely, stretch their wings, and exhibit natural behaviors like scratching and dust bathing.
2. Outdoor Access: Allow chickens to access outdoor areas where they can forage for insects, peck at grass, and enjoy natural sunlight and fresh air. A fenced yard or chicken run can provide a safe outdoor space.
3. Enrichment: Stimulate chickens’ minds and bodies with enrichment activities such as hanging treats, scattering scratch grains, providing perches and roosts, and introducing novel objects for pecking and exploring.
4. Variety in Diet: Offer a balanced diet that includes commercial chicken feed supplemented with fresh fruits, vegetables, and kitchen scraps. This not only provides essential nutrients but also adds variety to their diet, keeping them interested and satisfied.
10. Respect and Kindness: Treat chickens with kindness, respect, and gentle handling. Building a bond of trust with your chickens can enhance their well-being and strengthen your relationship with them.
Lastly, Avian Influenza
Avian influenza, commonly known as bird flu, can pose a risk to backyard chickens, although the likelihood of exposure depends on various factors including geographic location, biosecurity measures, and interactions with wild birds. Here’s what you need to know:
1. Transmission: Avian influenza viruses primarily spread through contact with infected birds, contaminated surfaces, or through the air. Wild birds, particularly waterfowl, can carry and transmit the virus to domestic poultry.
2. Biosecurity: Implementing biosecurity measures can help reduce the risk of avian influenza transmission to backyard chickens. This includes restricting access to wild birds, quarantining new birds before introducing them to the flock, and practicing good hygiene when handling birds, equipment, and feed.
3. Vaccination: In some regions or situations where avian influenza is prevalent, vaccination may be recommended or required to protect poultry against specific strains of the virus.
4. Monitoring: Stay informed about avian influenza outbreaks in your area and follow guidance from local agricultural authorities or veterinary services. Report any signs of illness or unusual deaths in your flock to a veterinarian or agricultural extension office.
5. Prevention: Minimize the risk of exposure by avoiding contact between backyard chickens and wild birds, and by promptly removing and properly disposing of any dead birds or carcasses.
6. Compliance: Adhere to any regulations or guidelines regarding avian influenza prevention and control measures set forth by local authorities or agricultural agencies.
While avian influenza can be a concern for backyard chicken owners, practicing good biosecurity and staying vigilant can help mitigate the risk and protect the health of your flock
please note that this post contain links to affiliate websites, and I receive an affiliate commission for any purchases made by you on the affiliate website using such links. Dandelion +Burdock is a participant in the Amazon Services LLC Associates Program, an affiliate advertising program designed to provide a means to earn advertising fees by linking to Amazon.com and affiliated websites
Leave a Reply